Importing the PureStake API Endpoints into Postman
Store the PureStake API endpoints in Postmand for easy, fast queries. It’s easy to import and save them to your account!
Requirements
None
Background
For more information on the PureStake API, here are some helpful links: * PureStake API site: https://developer.purestake.io/ * About the PureStake API: https://www.purestake.com/technology/algorand-api/ * The Postman documentation site: https://learning.postman.com/ * Code Samples: https://developer.purestake.io/code-samples * API Examples: https://github.com/PureStake/api-examples
Steps
1. Log into the PureStake API Portal
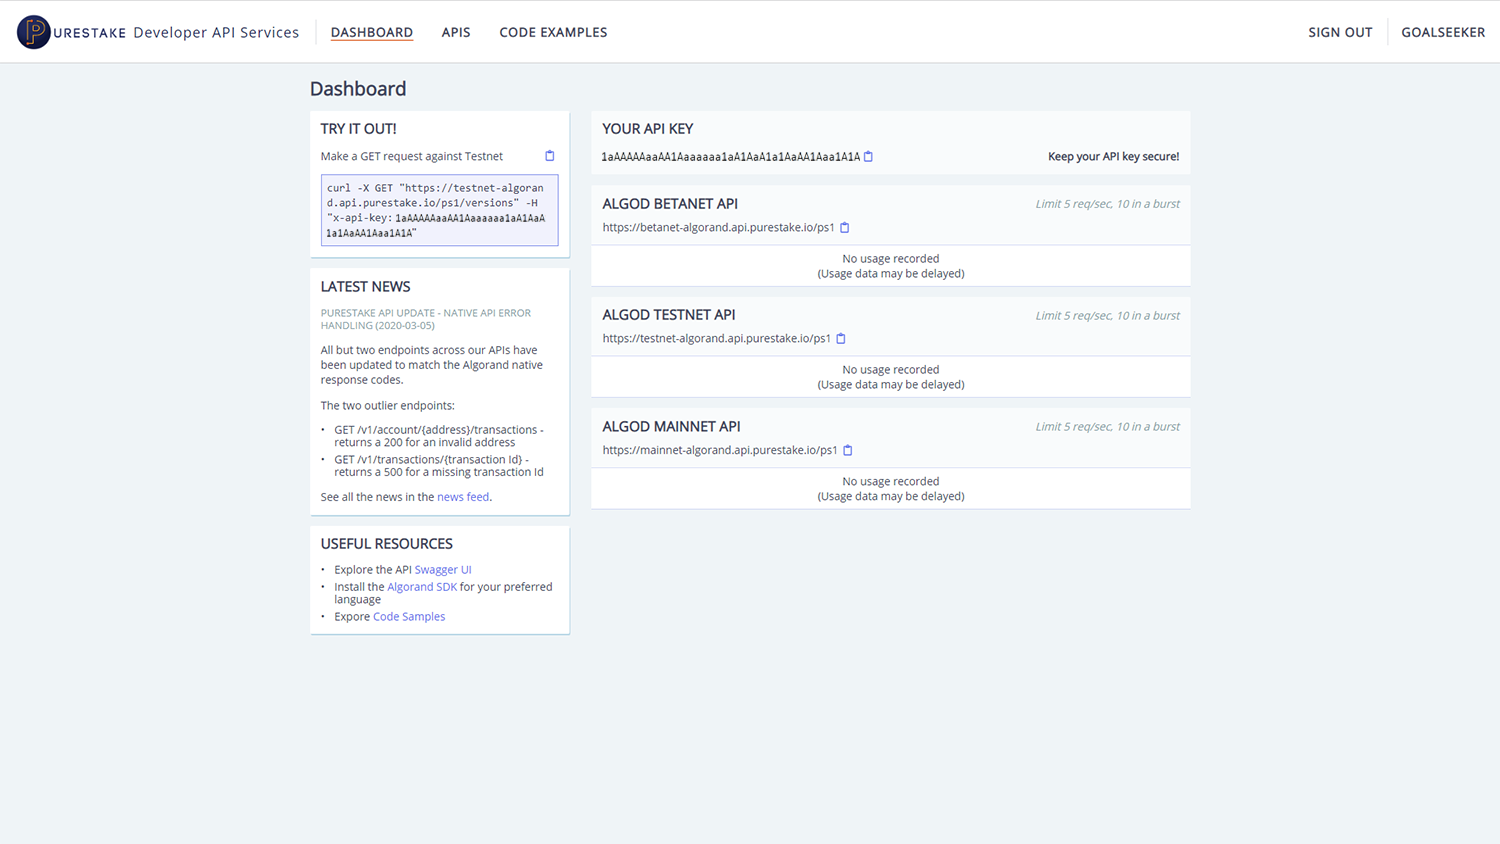
In order to import the collection of endpoints, you’ll need the JSON file. To retrieve yours, log into your PureStake API account. If you don’t already have a PureStake API key, refer to this tutorial.

2. Download the Swagger JSON File
Once logged in, click over to the APIs section and choose the network (e.g., Algorand BetaNet, TestNet, or MainNet) in the left sidebar. Click the /swagger.json in the accordion menu to see more options. Click the Try it out button.
Alternativley, if you are already using the API, you can also request the JSON file with cURL or Postman.

Click Execute.

Scroll down to the Server response section. At the bottom of the Response body code editor, you will see a Download button. Click it.

This will download the Swagger JSON file that you will import into Postman.
3. Import the JSON into Postman
Open the Postman desktop application and log in, if you haven’t already. You’ll end up on this dashboard.

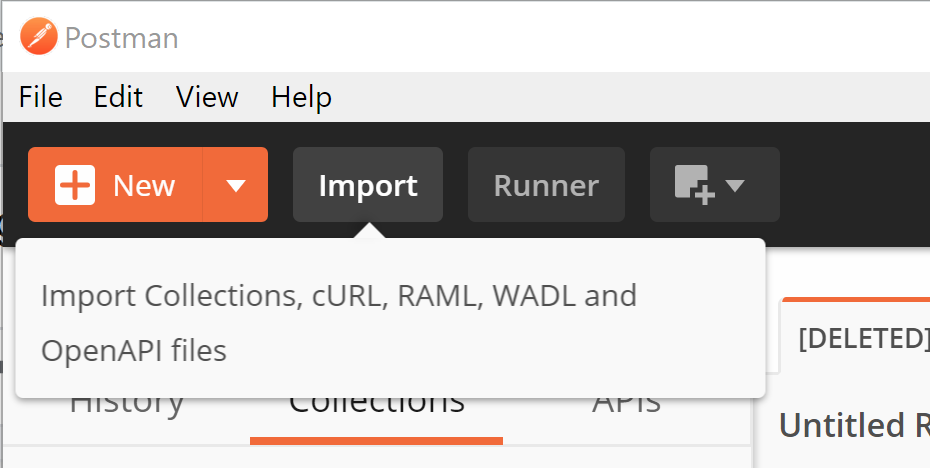
Click on the Import button at the top of your screen.

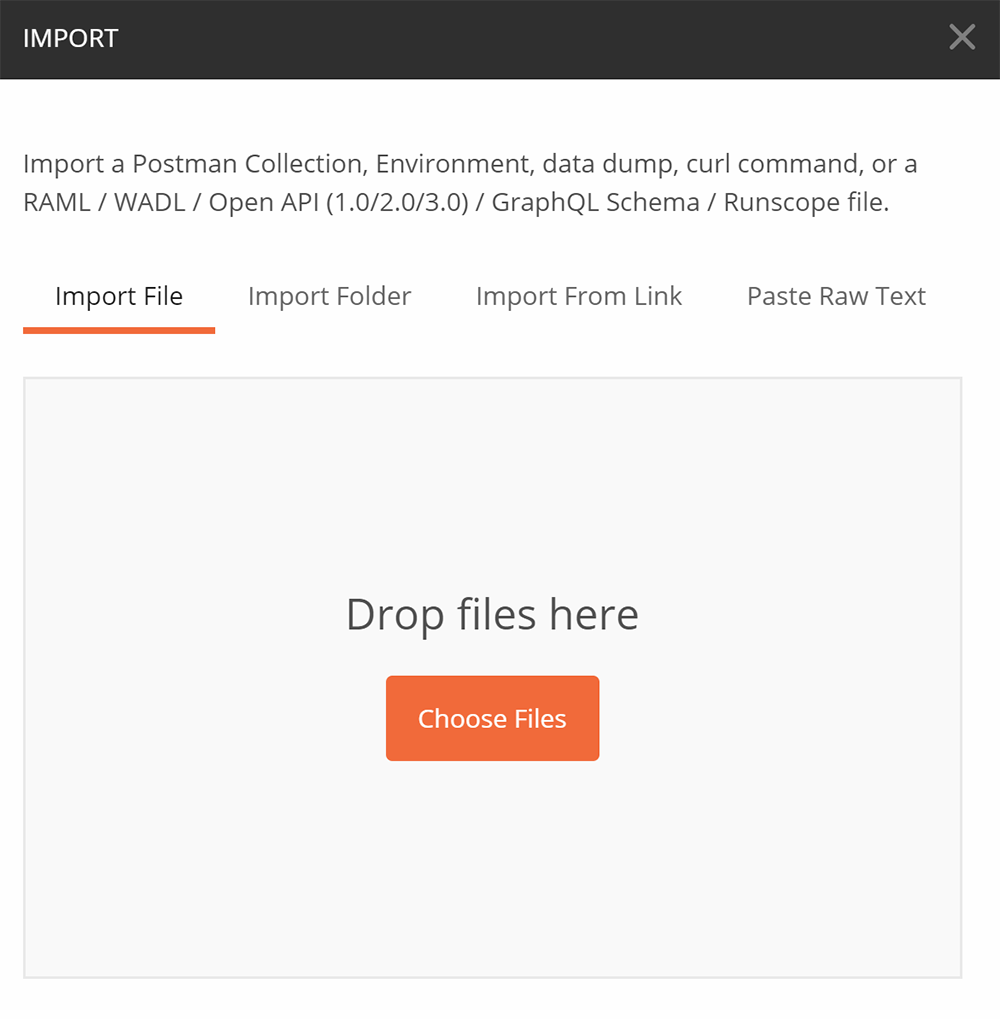
This will trigger a prompt. Select the JSON file from your downloads folder.

When prompted, leave both Import as an API and Generate a Postman Collection checked.

This will create a collection of API endpoints within Postman.
4. Verify the API Endpoints in Postman
Since you imported the endpoints directly from the PureStake API portal, they should work automagically. But just in case, here’s how you can verify them in Postman.
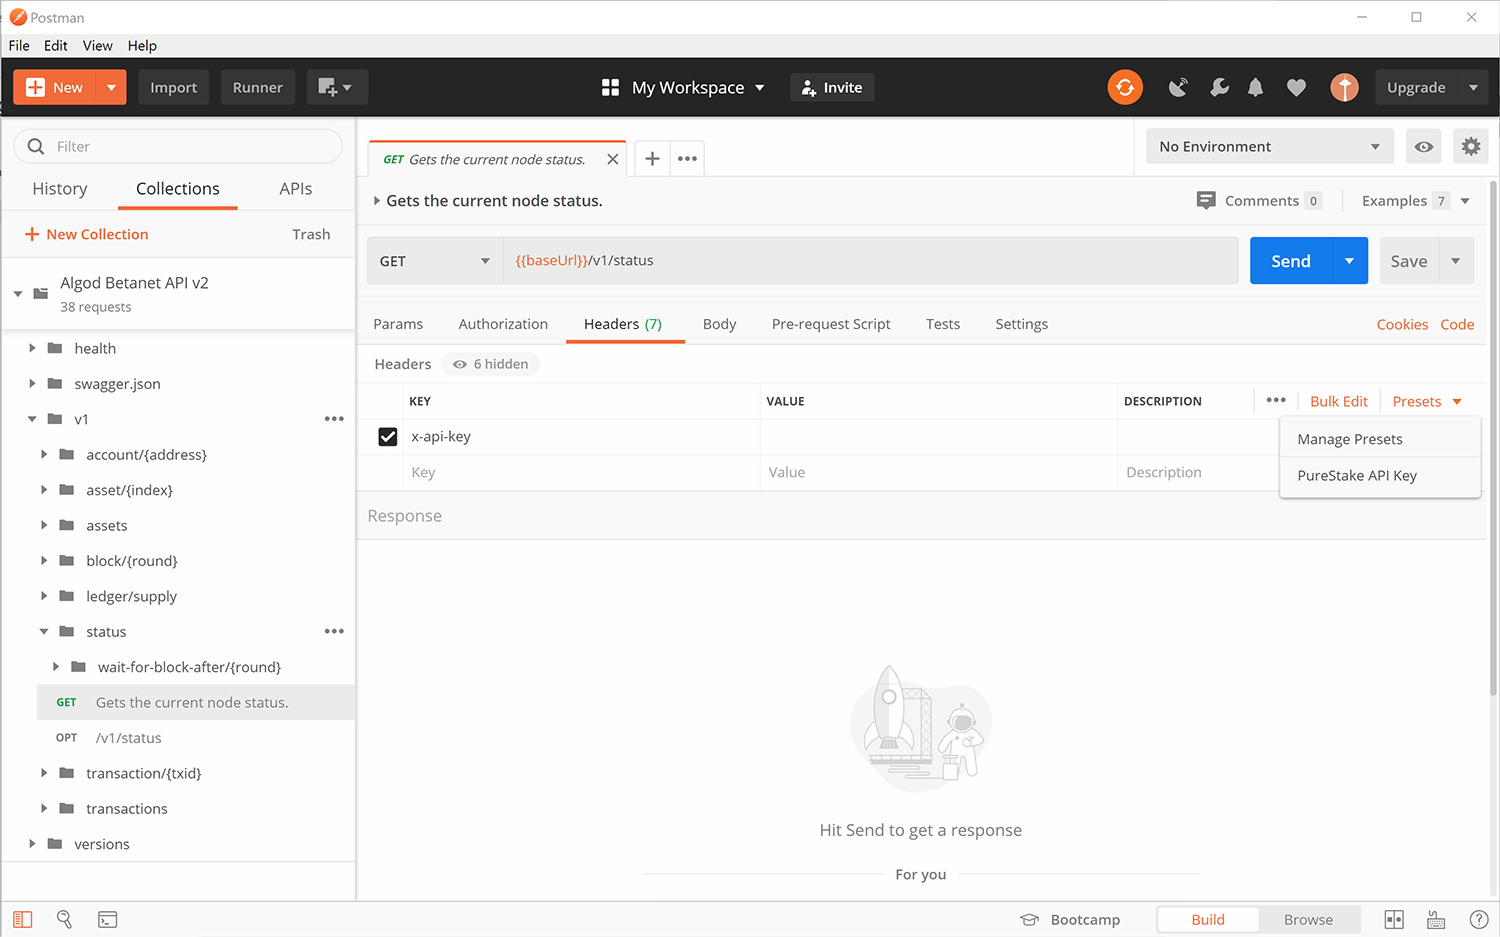
Select a GET request to complete from your new collection via the sidebar on the left. I’ll use /status for this example.
Make sure you enter your x-api-key in the header. I have mine saved as a preset, which you can do by clicking “Manage Presets.”

After you’ve entered your API key, click Send. If you see a message like the following, the GET request was successful.
